
In this article, I’m going to do a walkthrough of how to deploy our Nodejs app to Elastic Beanstalk, but first I’m going to give a brief overview of the service.
Overview of Elastic Beanstalk
AWS Elastic beanstalk is a managed service which means AWS automatically handles capacity provisioning, load balancing, scaling, application health monitoring, and instance configuration, leaving just application code as the responsibility of the developer. It is a developer-centric view of deploying an application on AWS.
Elastic beanstalk enables us to be able to leave provisioning of services to AWS while still having full control over the configuration. Elastic beanstalk can be very useful for companies and startups that do not have a large engineering team and would rather just focus on the logic of their app. Beanstalk is free to use, but you pay for the underlying instances and provisioned resources.
Components of Elastic Beanstalk
- Application: This includes the collection of environments, versions, configurations and all the components in general.
- Application Version: This is an iteration of your application code.
- Environment: This is the collection of AWS resources running on an application version. Multiple environments can be created. i.e dev, test, production
Supported Platforms
- Go
- Java SE
- Nodejs
- PHP
- Python
- Ruby
- .Net
- Docker
Note: If your language/platform isn’t supported, you can write your custom platform.
Deployment Presets
- Single Instance: This is great for development. The code is deployed to 1 availability zone on 1 EC2 instance.
- High Availability: This is great for production. You get an application load balancer, and your code is deployed to two AZ’s and also 2 EC2 instances.
- Custom Configuration: This allows you to use whatever custom configuration you want to.
Deployment Options for Updates
- All at once (deploy all in one go) – fastest, but instances aren’t available to serve traffic for a bit (downtime)
- Rolling: update a few instances at a time (bucket), and then move onto the next bucket once the first bucket is healthy
- Rolling with additional batches: like rolling, but spins up new instances to move the batch (so that the old application is still available)
- Immutable: spins up new instances in a new auto-scaling group, deploys version to these
instances, and then swap all the instances when everything is healthy
Deployment Process
- First, you have to describe dependencies e.g (requirements.txt for python, package.json for Nodejs)
- Package code as Zip
- Console: upload the zip file (creates new app version), and then deploy
- CLI: create a new app version using CLI (uploads zip), and then deploy
Lifecycle Policy
- Elastic Beanstalk can store at most 1000 application versions
- If you don’t remove old versions, you won’t be able to deploy any more
- To phase out old application versions, use a lifecycle policy
- Versions that are currently used won’t be deleted
- Option not to delete the source bundle in S3 to prevent data loss
Extensions
- A zip file containing our code must be deployed to Elastic Beanstalk
- All the parameters set in the UI can be configured with code using files
- Requirements:
- in the .ebextensions/ directory in the root of source code
- YAML / JSON format
- config extensions (example: logging.config)
- Able to modify some default settings using: option_settings
- Ability to add resources such as RDS, ElastiCache, DynamoDB, etc…
- Resources managed by .ebextensions get deleted if the environment goes away
Under the hood, AWS Elastic Beanstalk uses Cloudformation to provision resources needed which means we can define Cloudformation resources in the .ebextensions to provision anything we want.
Deploying our Nodejs App to Elastic Beanstalk
We will need a pre-built sample of a Nodejs application, which you can download using this URL from GitHub – Aeeiee-Team/Nodejs-ElasticBeanstalk. You should also have a GitHub account, MongoDB Atlas account and an AWS account; you can create a free AWS account from https://aws.amazon.com/. You can sign up for MongoDB atlas here.
Click here to create an AWS Account and enter your AWS User name and Password and it will open the AWS Management Console page. Click on All services and choose AWS Elastic Beanstalk.
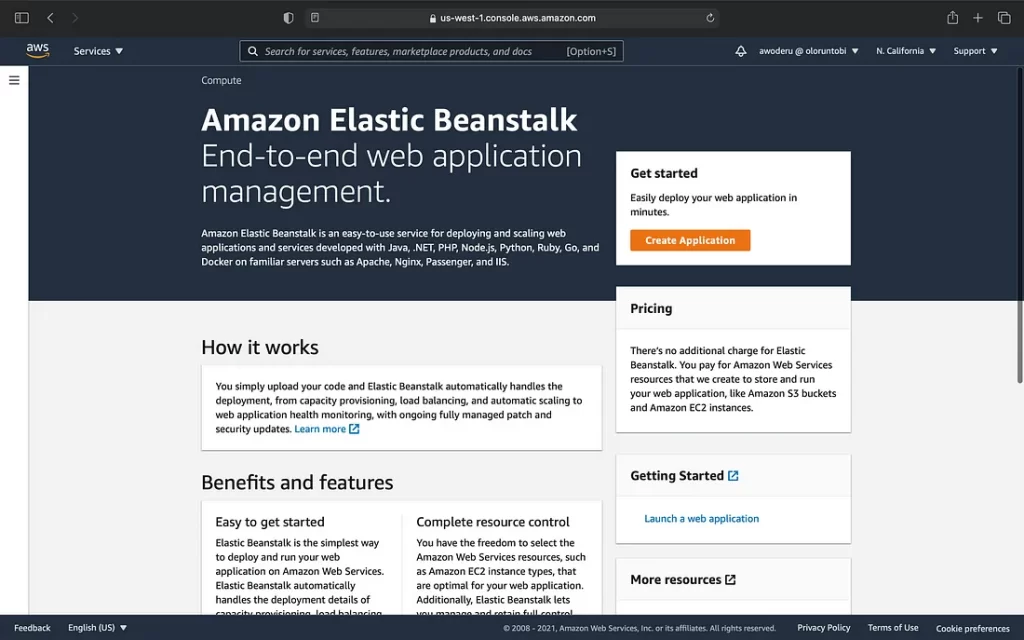
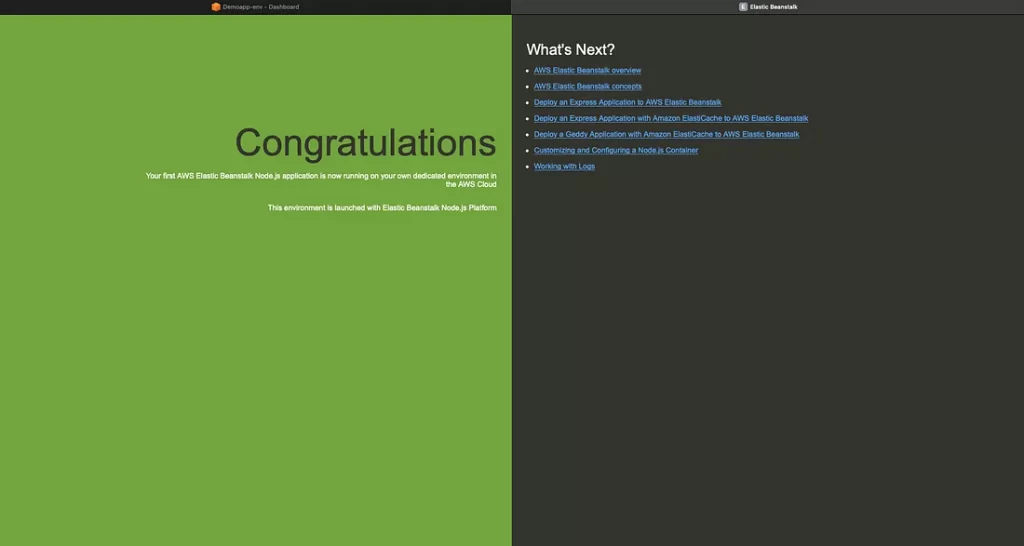
Figure 1: AWS Elastic Beanstalk Dashboard page
To create an Application
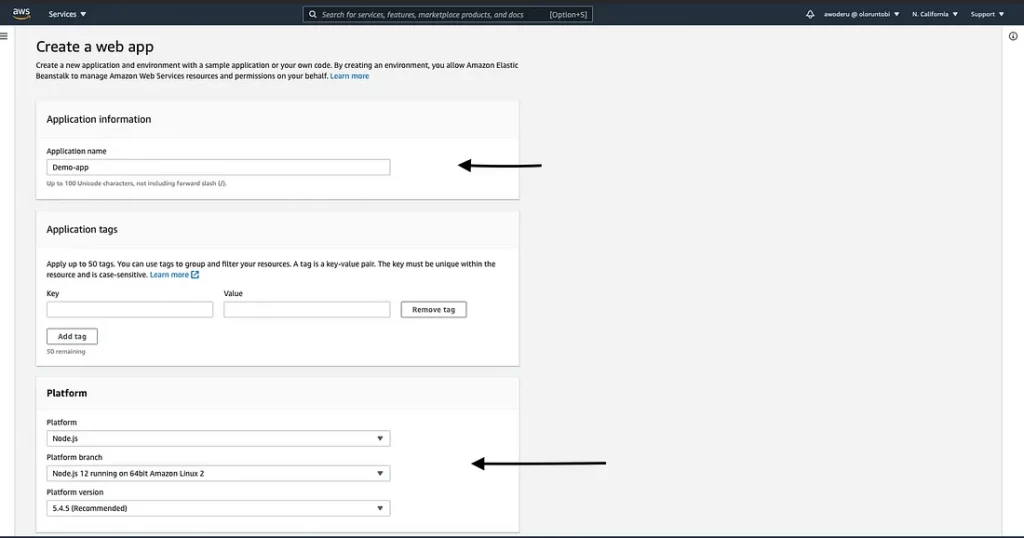
You can use the “Create Web app” console wizard to create your sample application by clicking on the “Create Application” button. You’ll specify the elastic beanstalk application name i.e demo-app
- Click on the Platform drop-down and select your platform e.g: node.js. Platform branch and platform version will be auto-populated.
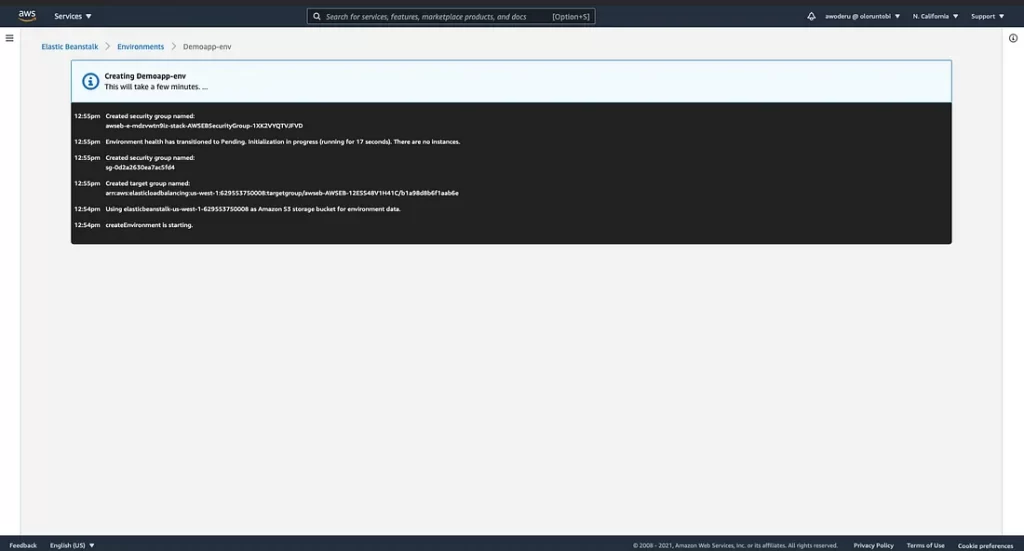
- Select the Sample Application as application code and click on the “Create Application “ button. It will take few minutes to launch your application.
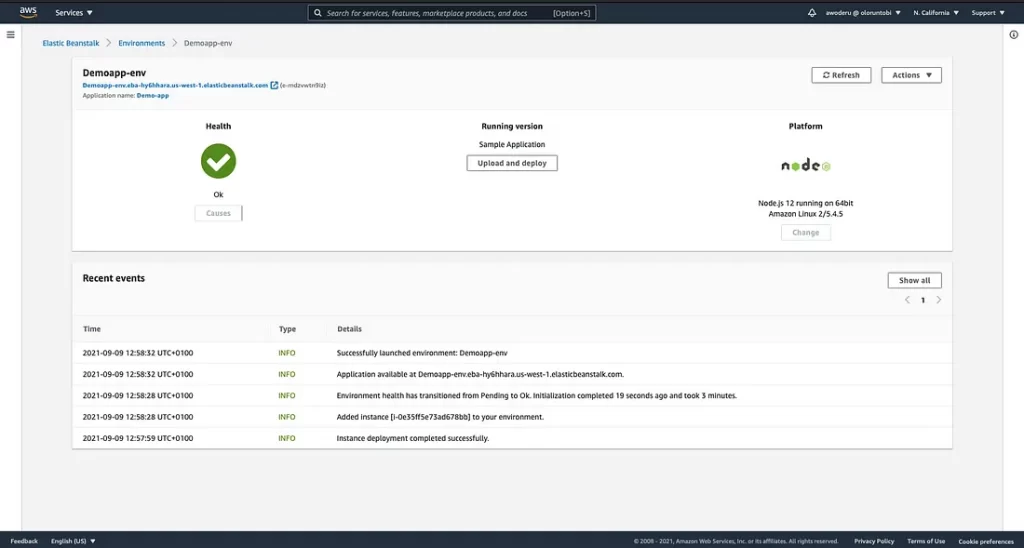
We will deploy the sample application and then use CI/CD to deploy our own custom application from GitHub.
When we go to the URL provided by AWS, we see that our sample application has been deployed, now we can go and set up a CI/CD pipeline to deploy our custom application.
When we go to the URL provided by AWS, we see that our sample application has been deployed, now we can go and set up a CI/CD pipeline to deploy our custom application.
We will set up continuous integration and deployment(CI/CD) using AWS Code Pipeline Service. AWS Code pipeline services help us to Build, Tests and Deploy code when there is any code changes in your source code. I will show how to create a simple pipeline that pulls code from the GitHub repository and automatically deploy it to AWS EC2 instances.
To do this, go back to your console, or click on the search bar, and search for “CodePipeline”. It can also be found under developer tools.
To get started, click on the “Create Pipeline” button.

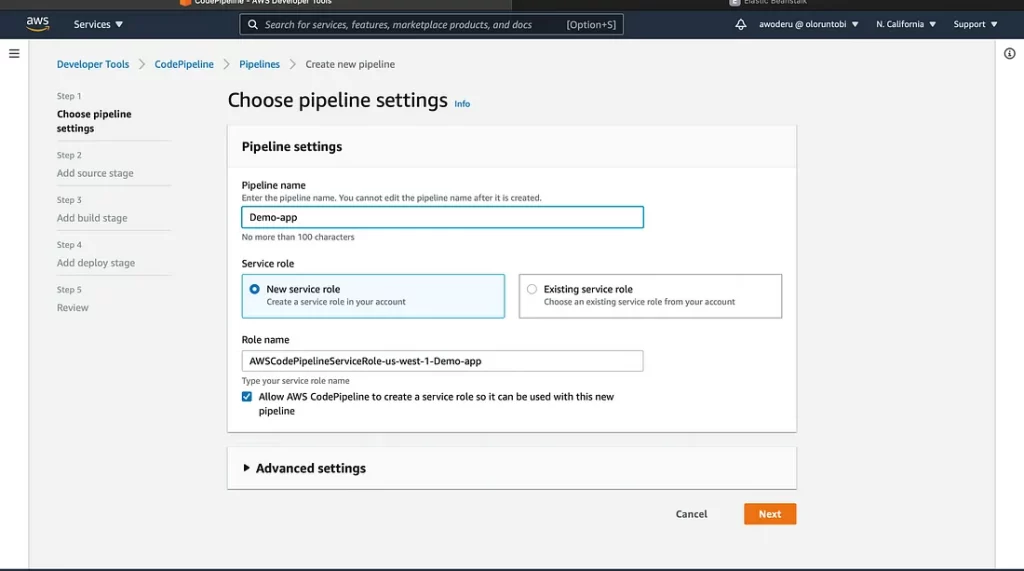
Choose Pipeline settings
AWS source resources you created must be in the same region as your pipeline.
Step 1: Enter the pipeline name e.g Demo-app
- In Service Role default to ‘New Service Role’, it will help CodePipeline to create a new service role in IAM.
- In Role Name default to ‘AWSCodePipelineServiceRole-Region-pipeline name’. For example, this is the service role created for a pipeline named AWSCodePipelineServiceRole-us-west-2-musician-pipeline.
- Click on the Next Button as shown in the image above
Step 2: Add Source Stage
- On the Source page, under Source Provider, choose GitHub(Version 2).
- AWS recommends GitHub (Version 2) and you should stick to that for best practices
- If you have not created a GitHub connection, click on the “Connect to GitHub” button to grant permission to the AWS Code pipeline to access your GitHub repository. This will help AWS Code Pipeline to upload your committed changes from GitHub to AWS Code Pipeline.
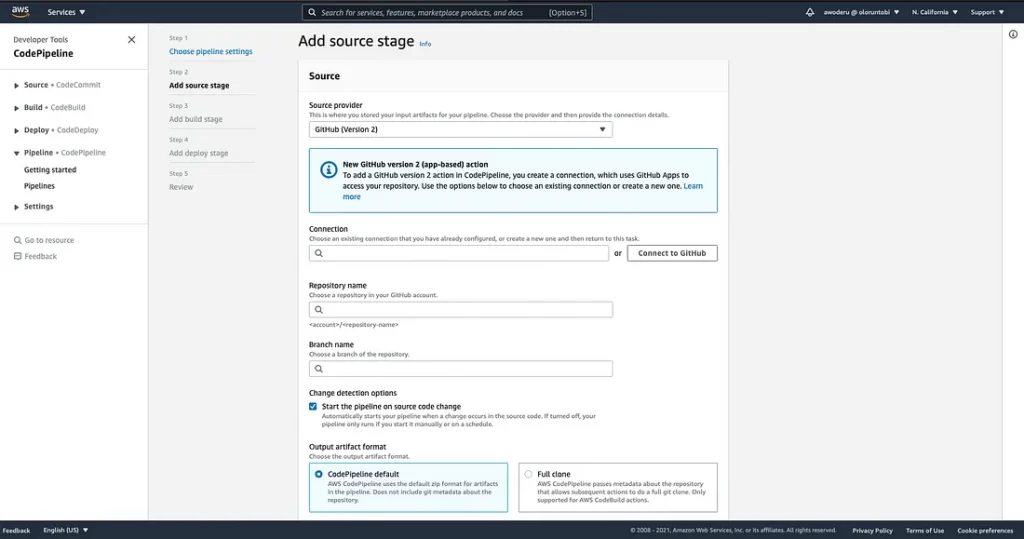
Figure 8: Add source stage page
Input a connection name (in my case, I used demo), then click on “Connect to GitHub”. It will bring an authentication screen and you have to authorize AWS to access your GitHub account, after which the screen below pops up.
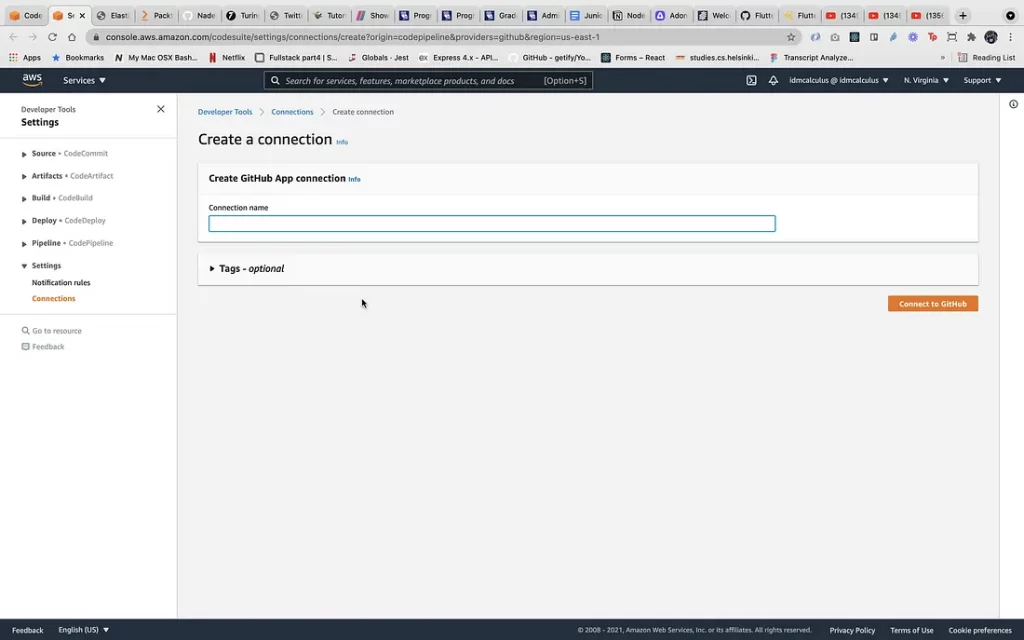
Figure 9: Create GitHub Connection
Click on the “Install a new app” button and another authorization screen shows up and asks “Where do you want to install AWS Connector for GitHub?”. Select your account or GitHub organization where your demo app is (in case you are someone like me with multiple GitHub organizations).
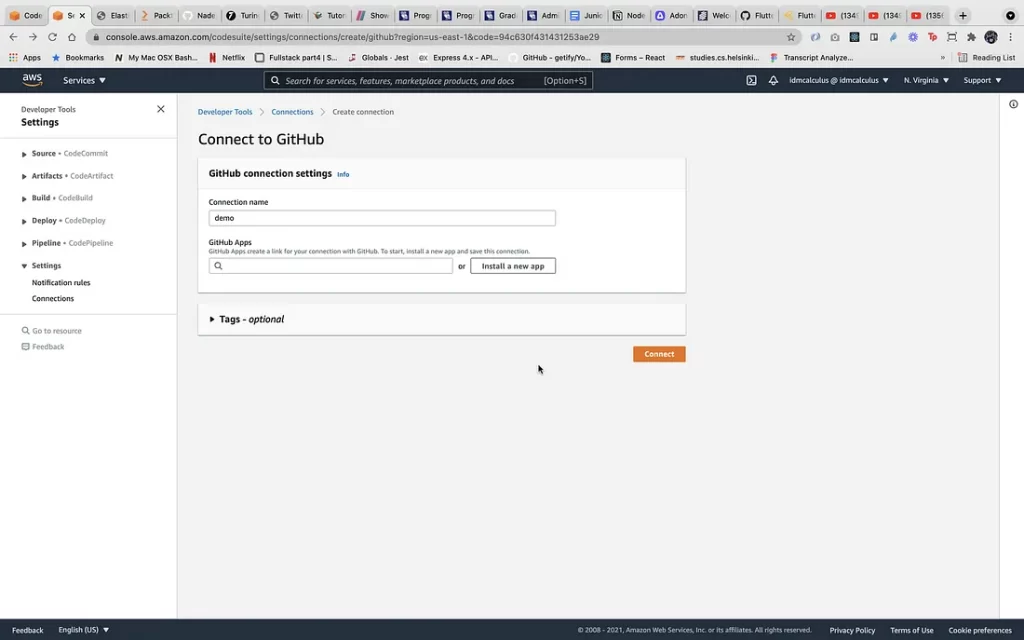
Figure 10: Install AWS Connector for GitHub
Once you’ve selected where the AWS connector will be installed, click on the “connect” button and you will be redirected to the “Add source stage” page where you will see a notice that GitHub is ready for use.
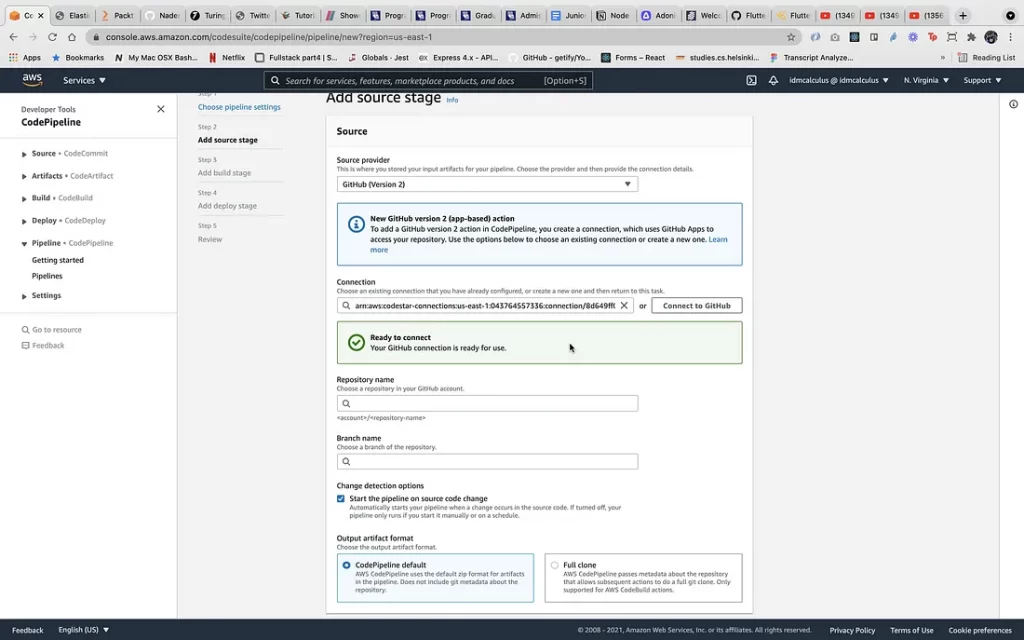
Figure 11: GitHub connected successfully
4. After Connection to Github, you’ll be able to see a list of your repositories, and select the one which you want to set up this code pipeline.
5. You’ll also be able to choose the branch from which you want this pipeline to listen to and pull code.
Step 3: Add Build Stage
- You can skip the build stage as we don’t need it for this pipeline
Step 4: Add Deploy Stage
- In Deploy provider, choose AWS Elastic Beanstalk.
- In Region, select the region where you have created your source code.
- For the Application name, enter or choose the name that you have already created on the AWS Elastic Beanstalk console.
- In the Environment name, enter or choose the name that you already created on the AWS Elastic Beanstalk console.
- Click the “Next” button
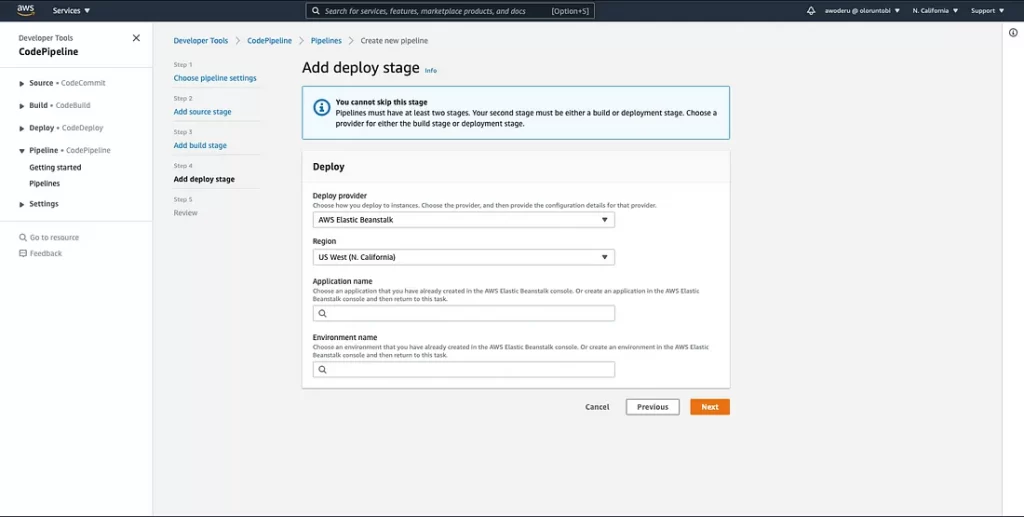
Figure 12: Add deploy stage page
After clicking next, you will be directed to the Pipeline ‘Review Page’ and then you can click on the create pipeline button. Your code will then be taken from the source and deployed to Elastic Beanstalk as shown below:
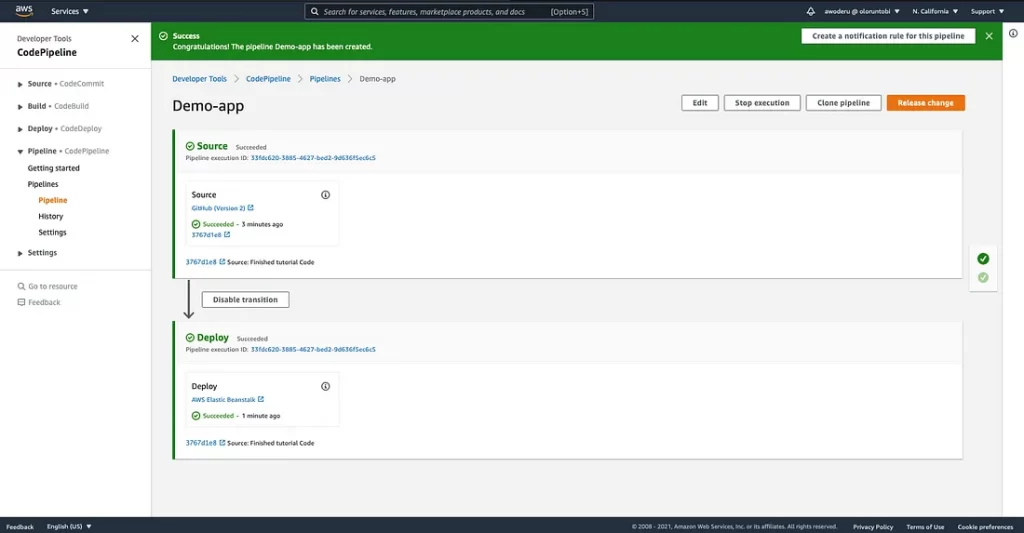
Figure 13: Code Pipeline Overview page
And with this, our code should be deployed to Elastic Beanstalk. We’ll go back to our Elastic Beanstalk URL and it works fine as seen in the image below.
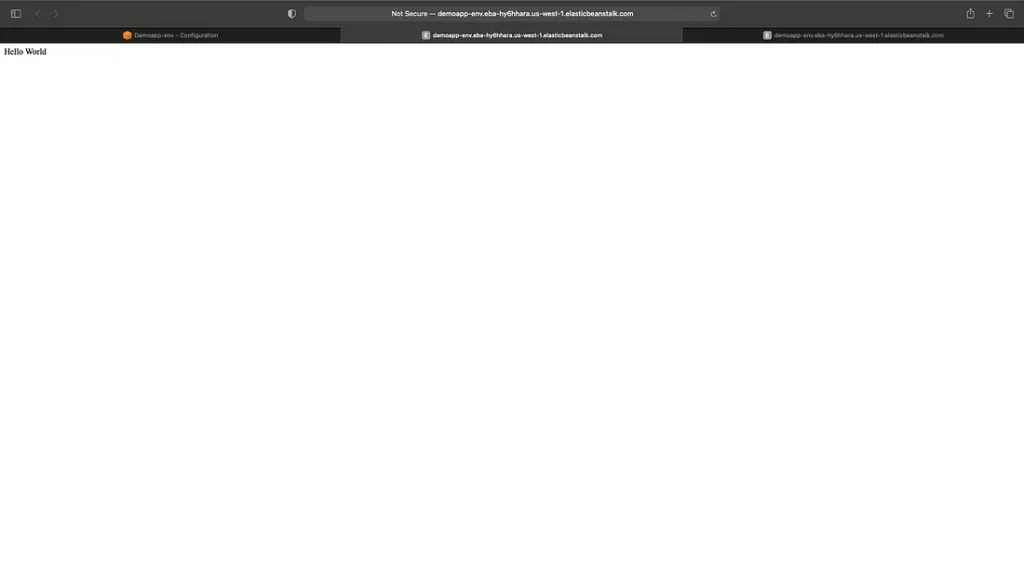
Figure 14: Server Home page
I’m using MongoDB for the purposes of this tutorial, and I’m going to go ahead and connect to the MongoDB database using a connection string.
This isn’t the best way to connect MongoDB atlas to an Elastic Beanstalk application. I have attached links below that are written by MongoDB and AWS and gives a description of how best to do this. But for the purposes of this tutorial, I’m going to use a connection string.
Develop & Deploy a Node.js App to AWS Elastic Beanstalk & MongoDB Atlas | MongoDB Blog
Connecting Applications Securely to a MongoDB Atlas Data Plane with AWS-Privatelink
Steps to Add MongoDB connection string as an env variable
- I’ll navigate back to our Elastic Beanstalk dashboard and select my application
- Choose a configuration from the navigation plane
- For the Software category, choose Edit.
- In the Environment properties section, enter the key-value pairs for the environment properties that you want to pass to your instances.
- The key for our database used in this tutorial is “DATA_DB” i.e DATA_DB={mongoDB connection string}
- Click Apply
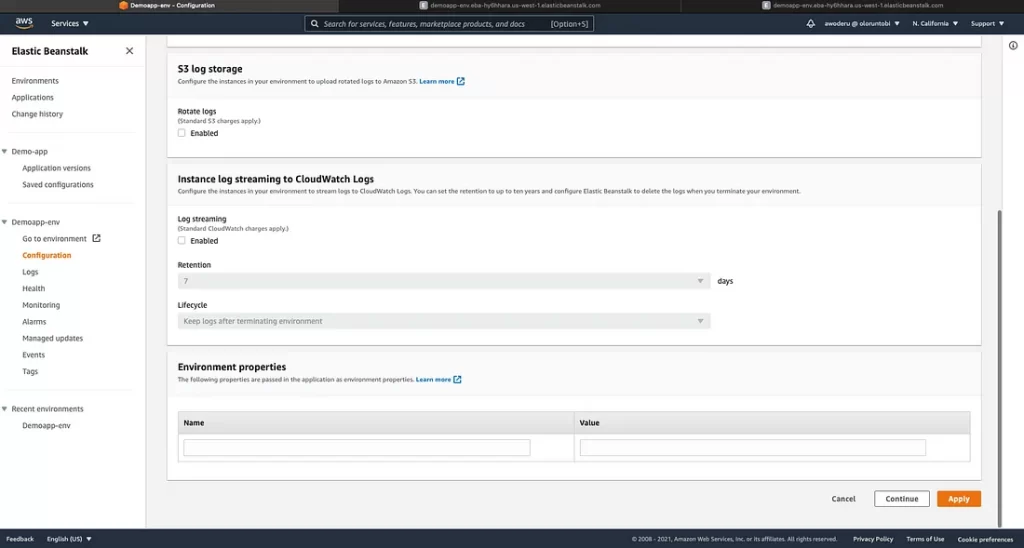
Figure 15: Configuration Page
Now, I’ll use postman to test if my application works the way it should. I created a register endpoint in my code. I made a request to that endpoint with the necessary details and everything works fine as seen below.
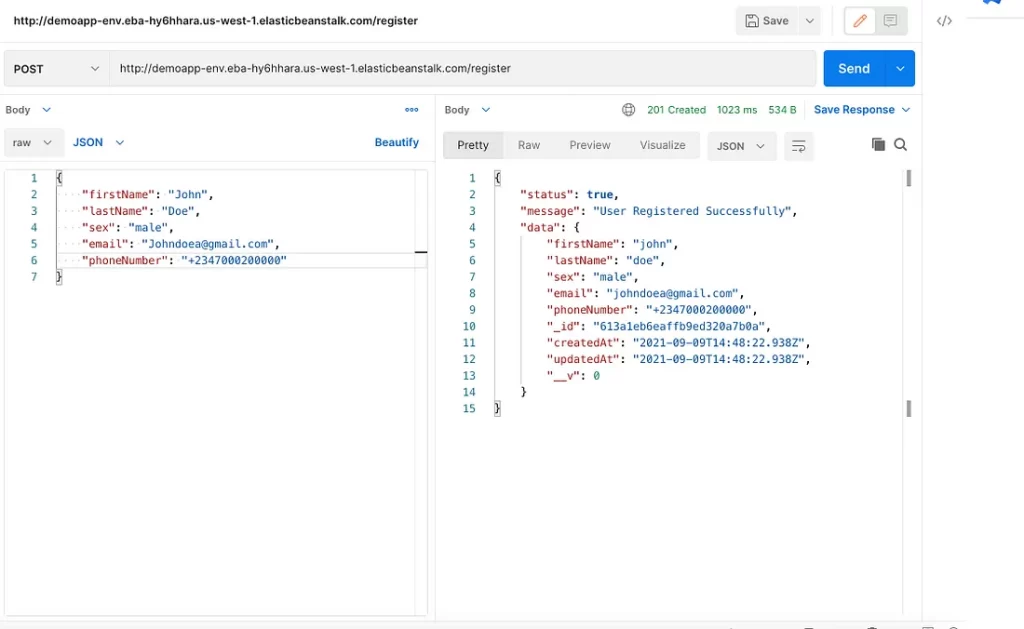
Figure 16: Postman test page
Conclusion
You can see it’s very easy to deploy our code from GitHub using code pipeline to AWS Elastic Beanstalk. If you follow this article for tutorial purposes only, you should make sure to delete your environments and app when you are done so you don’t incur unnecessary costs from AWS.